MAKE••• A Flower AND Foliage Press!
Preserve plants for posterity and future projects.
Flower and foliage presses are a really cool, really easy way to preserve bits of your favorite plants. What you keep will be transformed — a different version of its fresh self — but that’s part of the appeal. This project will get you looking at the nature in your life in a whole new way, and brainstorming artistic things to do with what you smoosh.
The main purpose of a press is to flatten leaves and flowers with strong and consistent pressure, and in the process dry them out (to prevent withering and rot) away from light (to prevent fading).
A Readymade Press
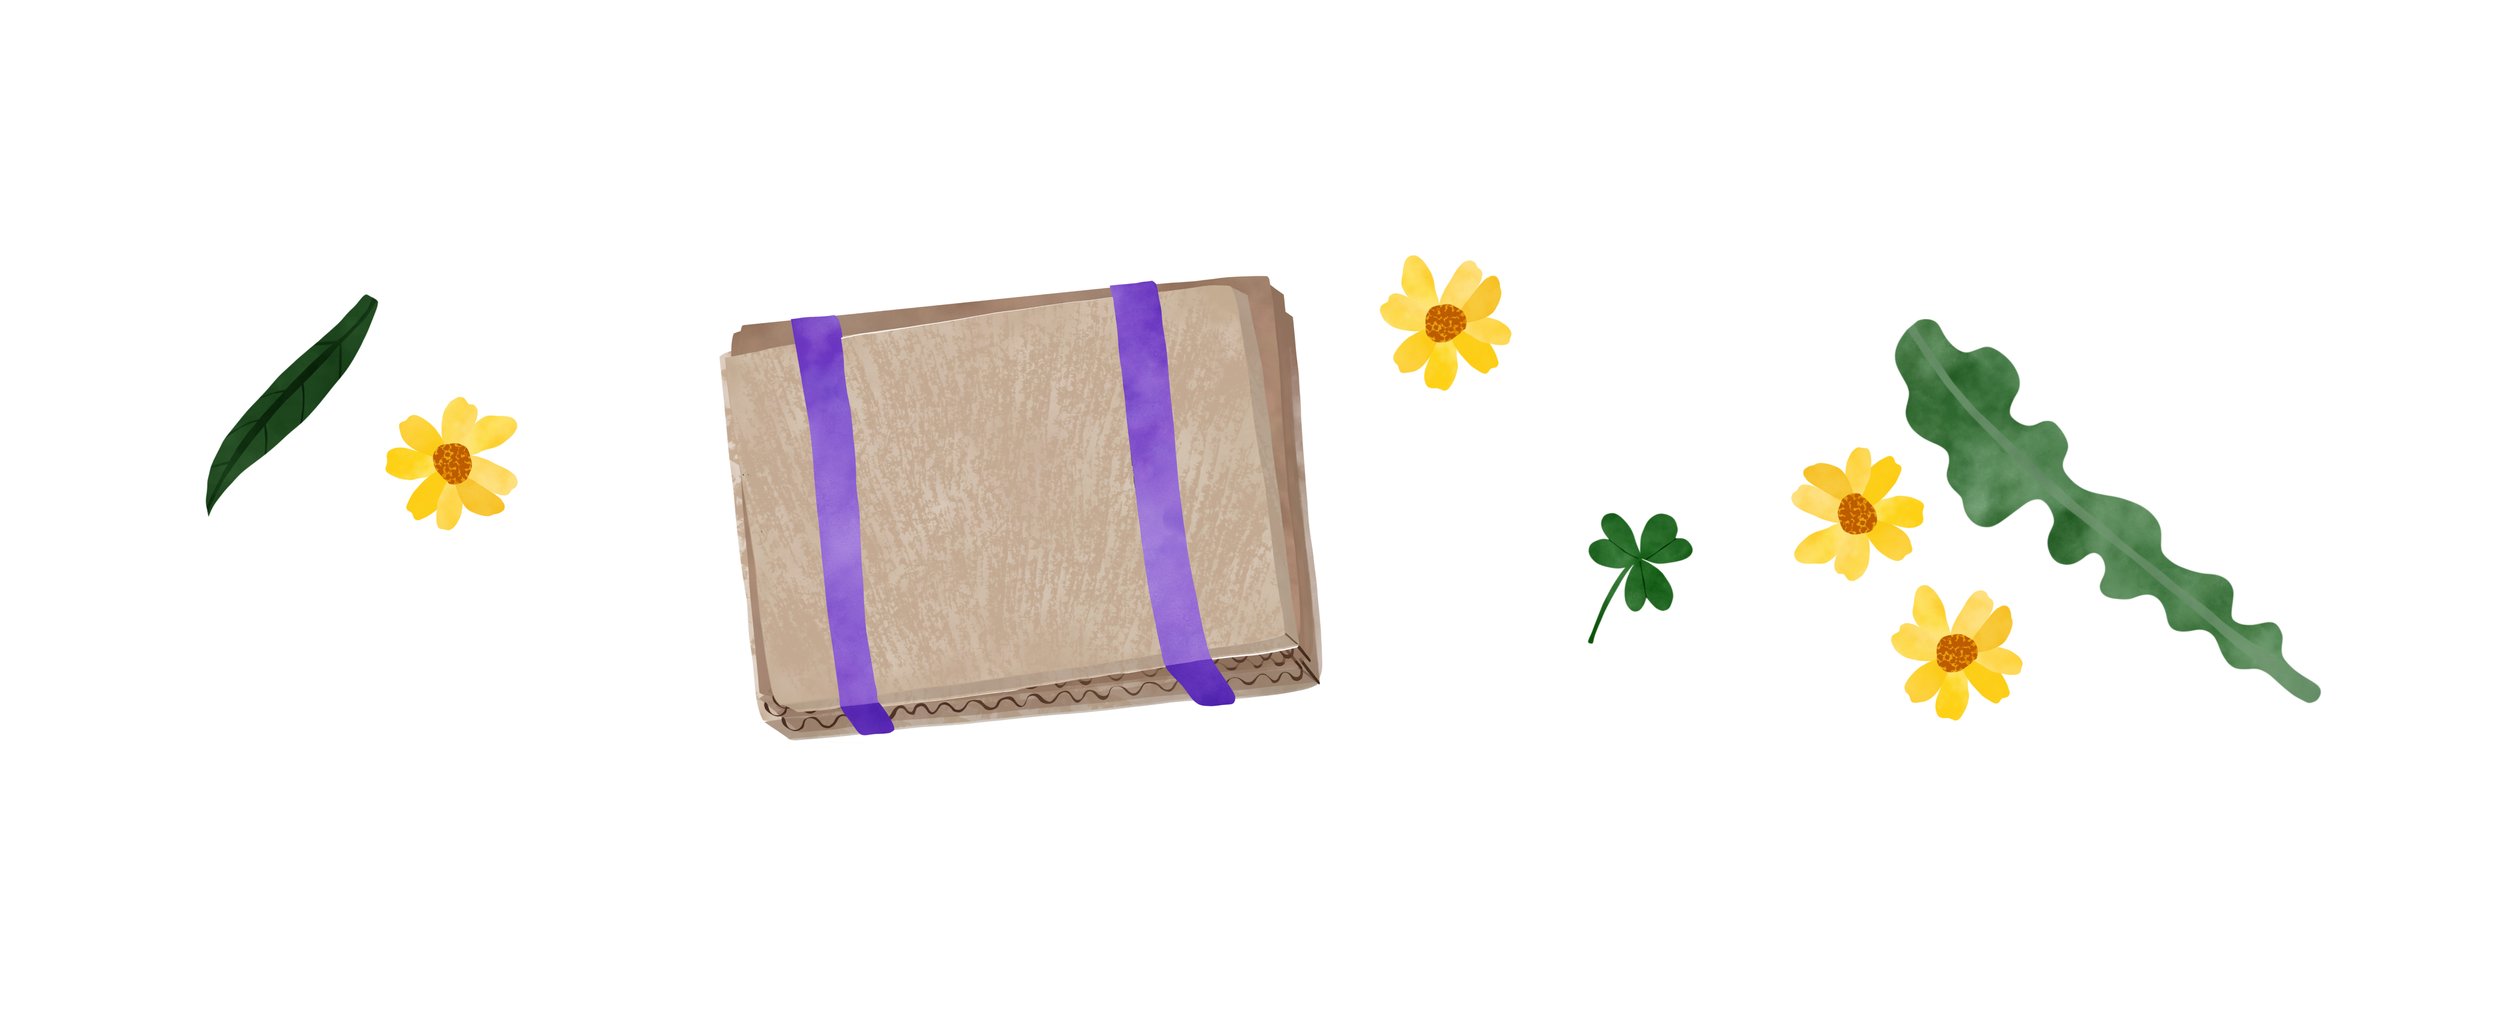
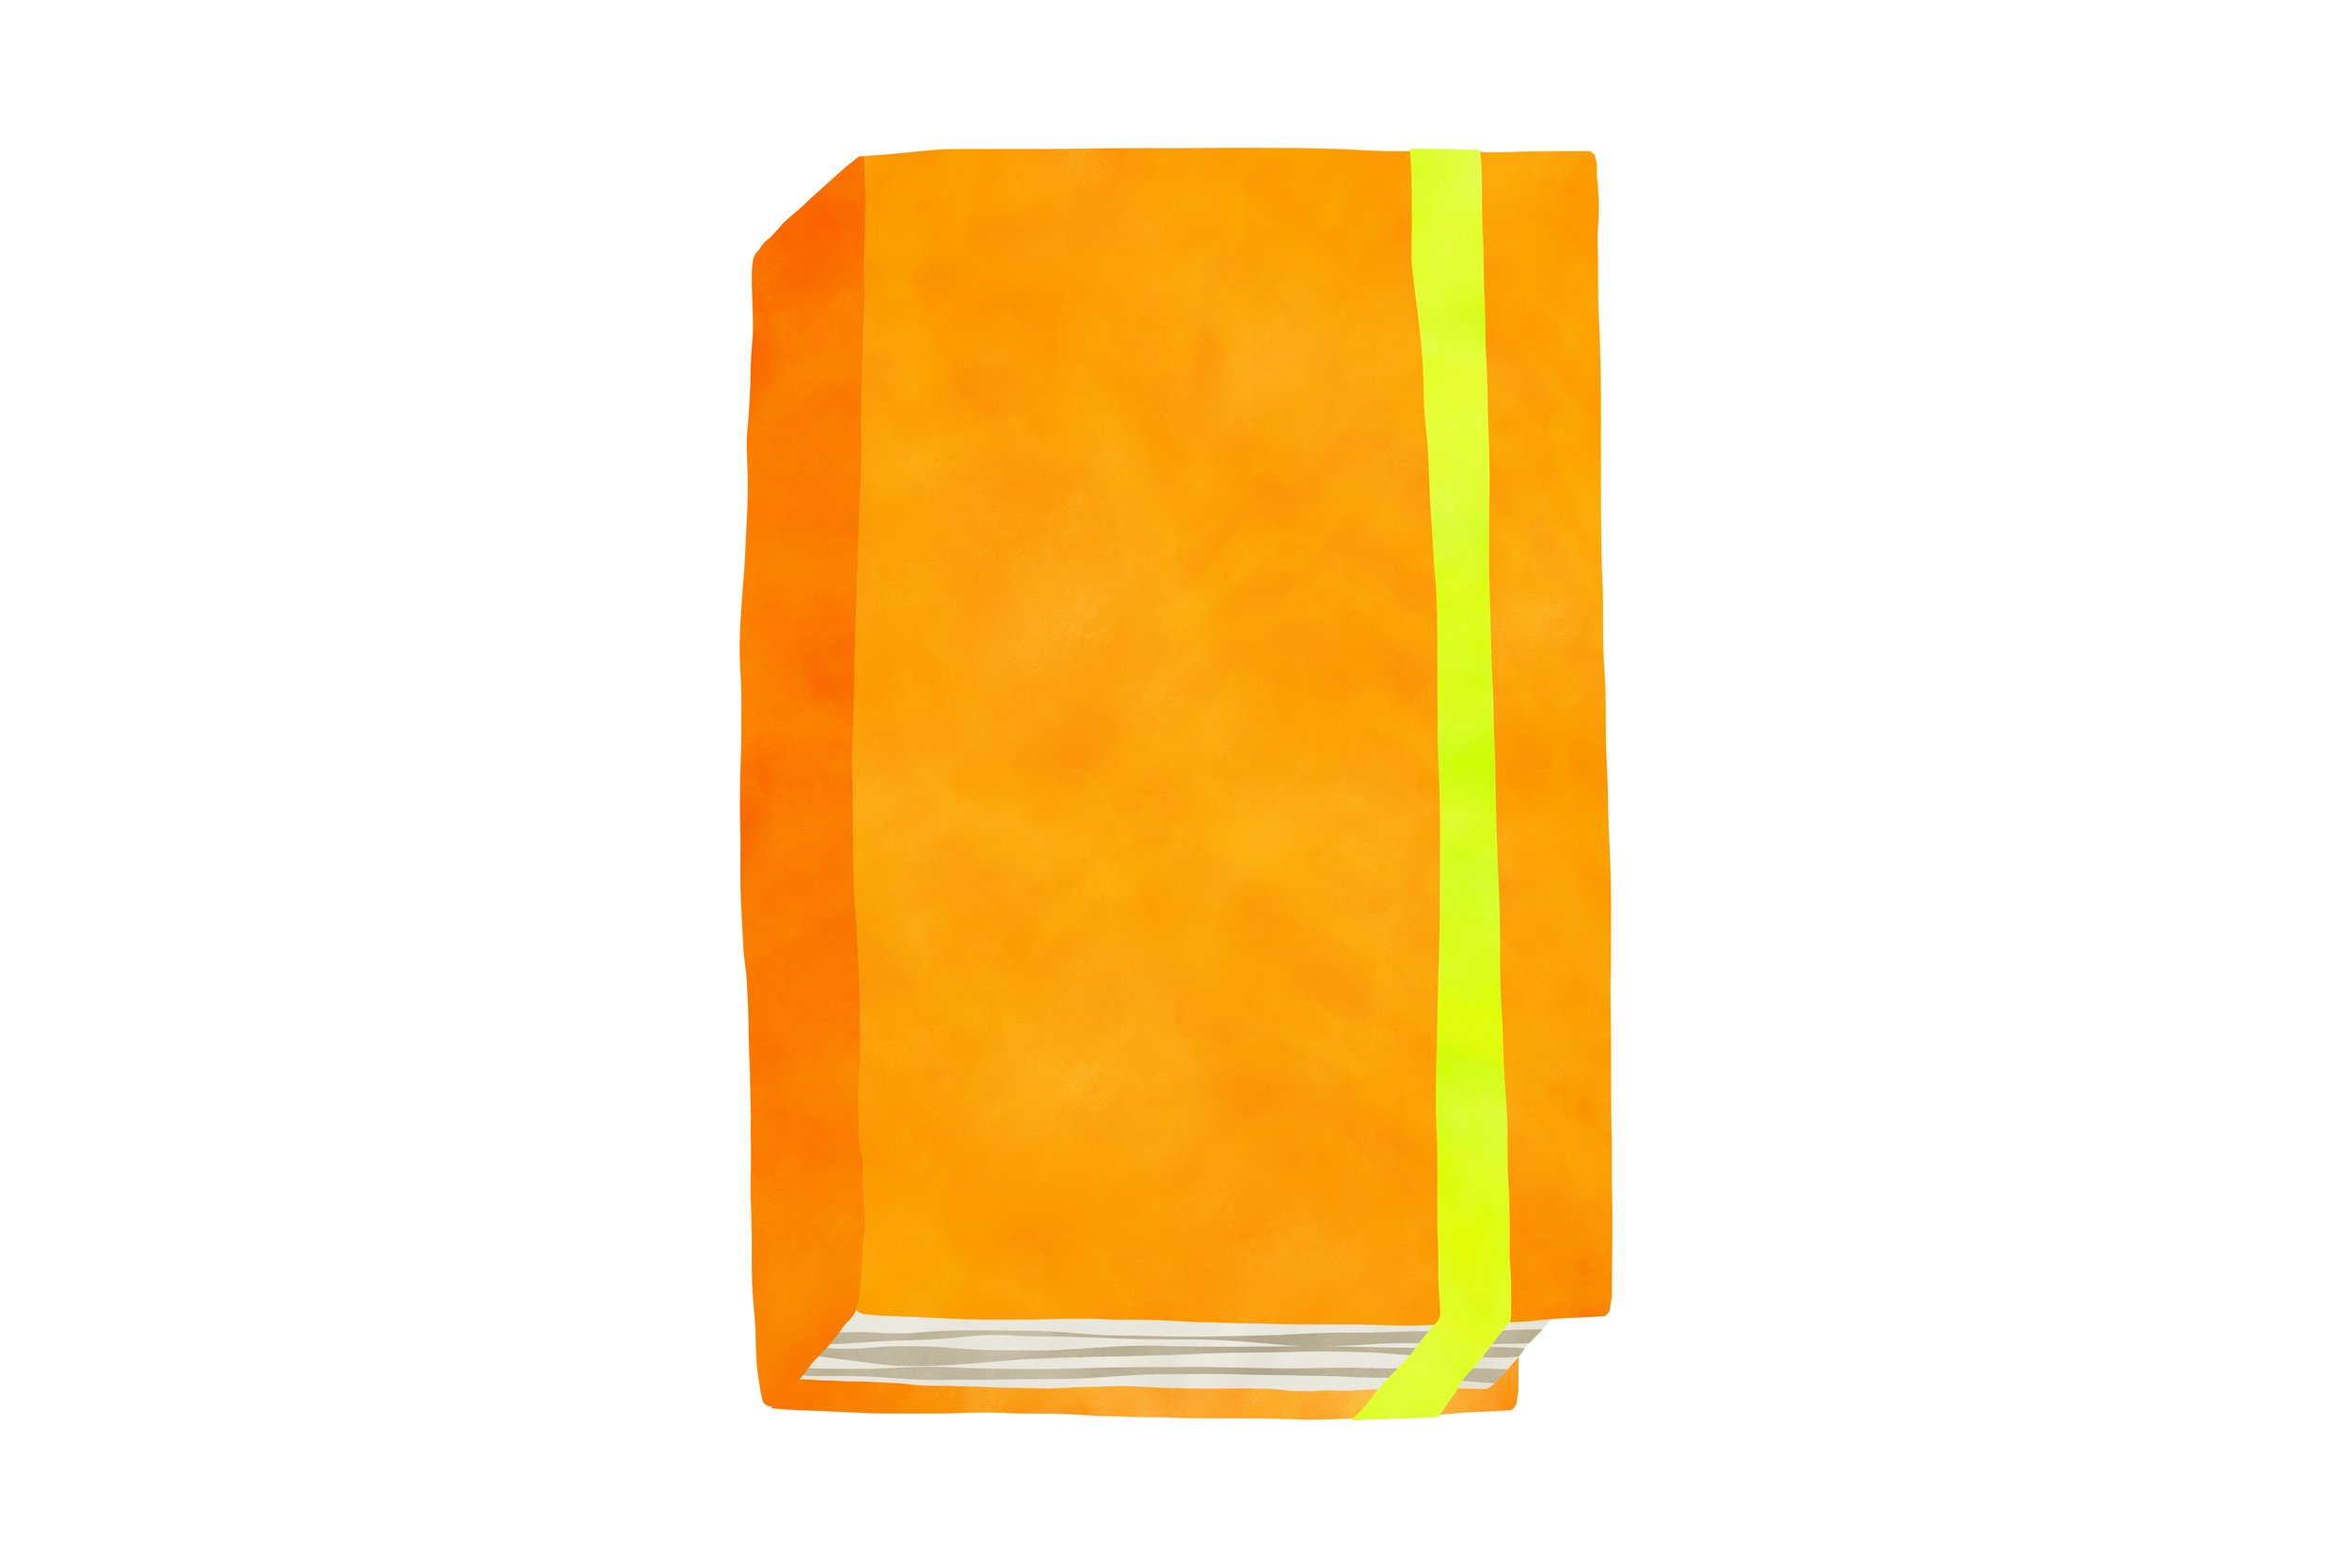
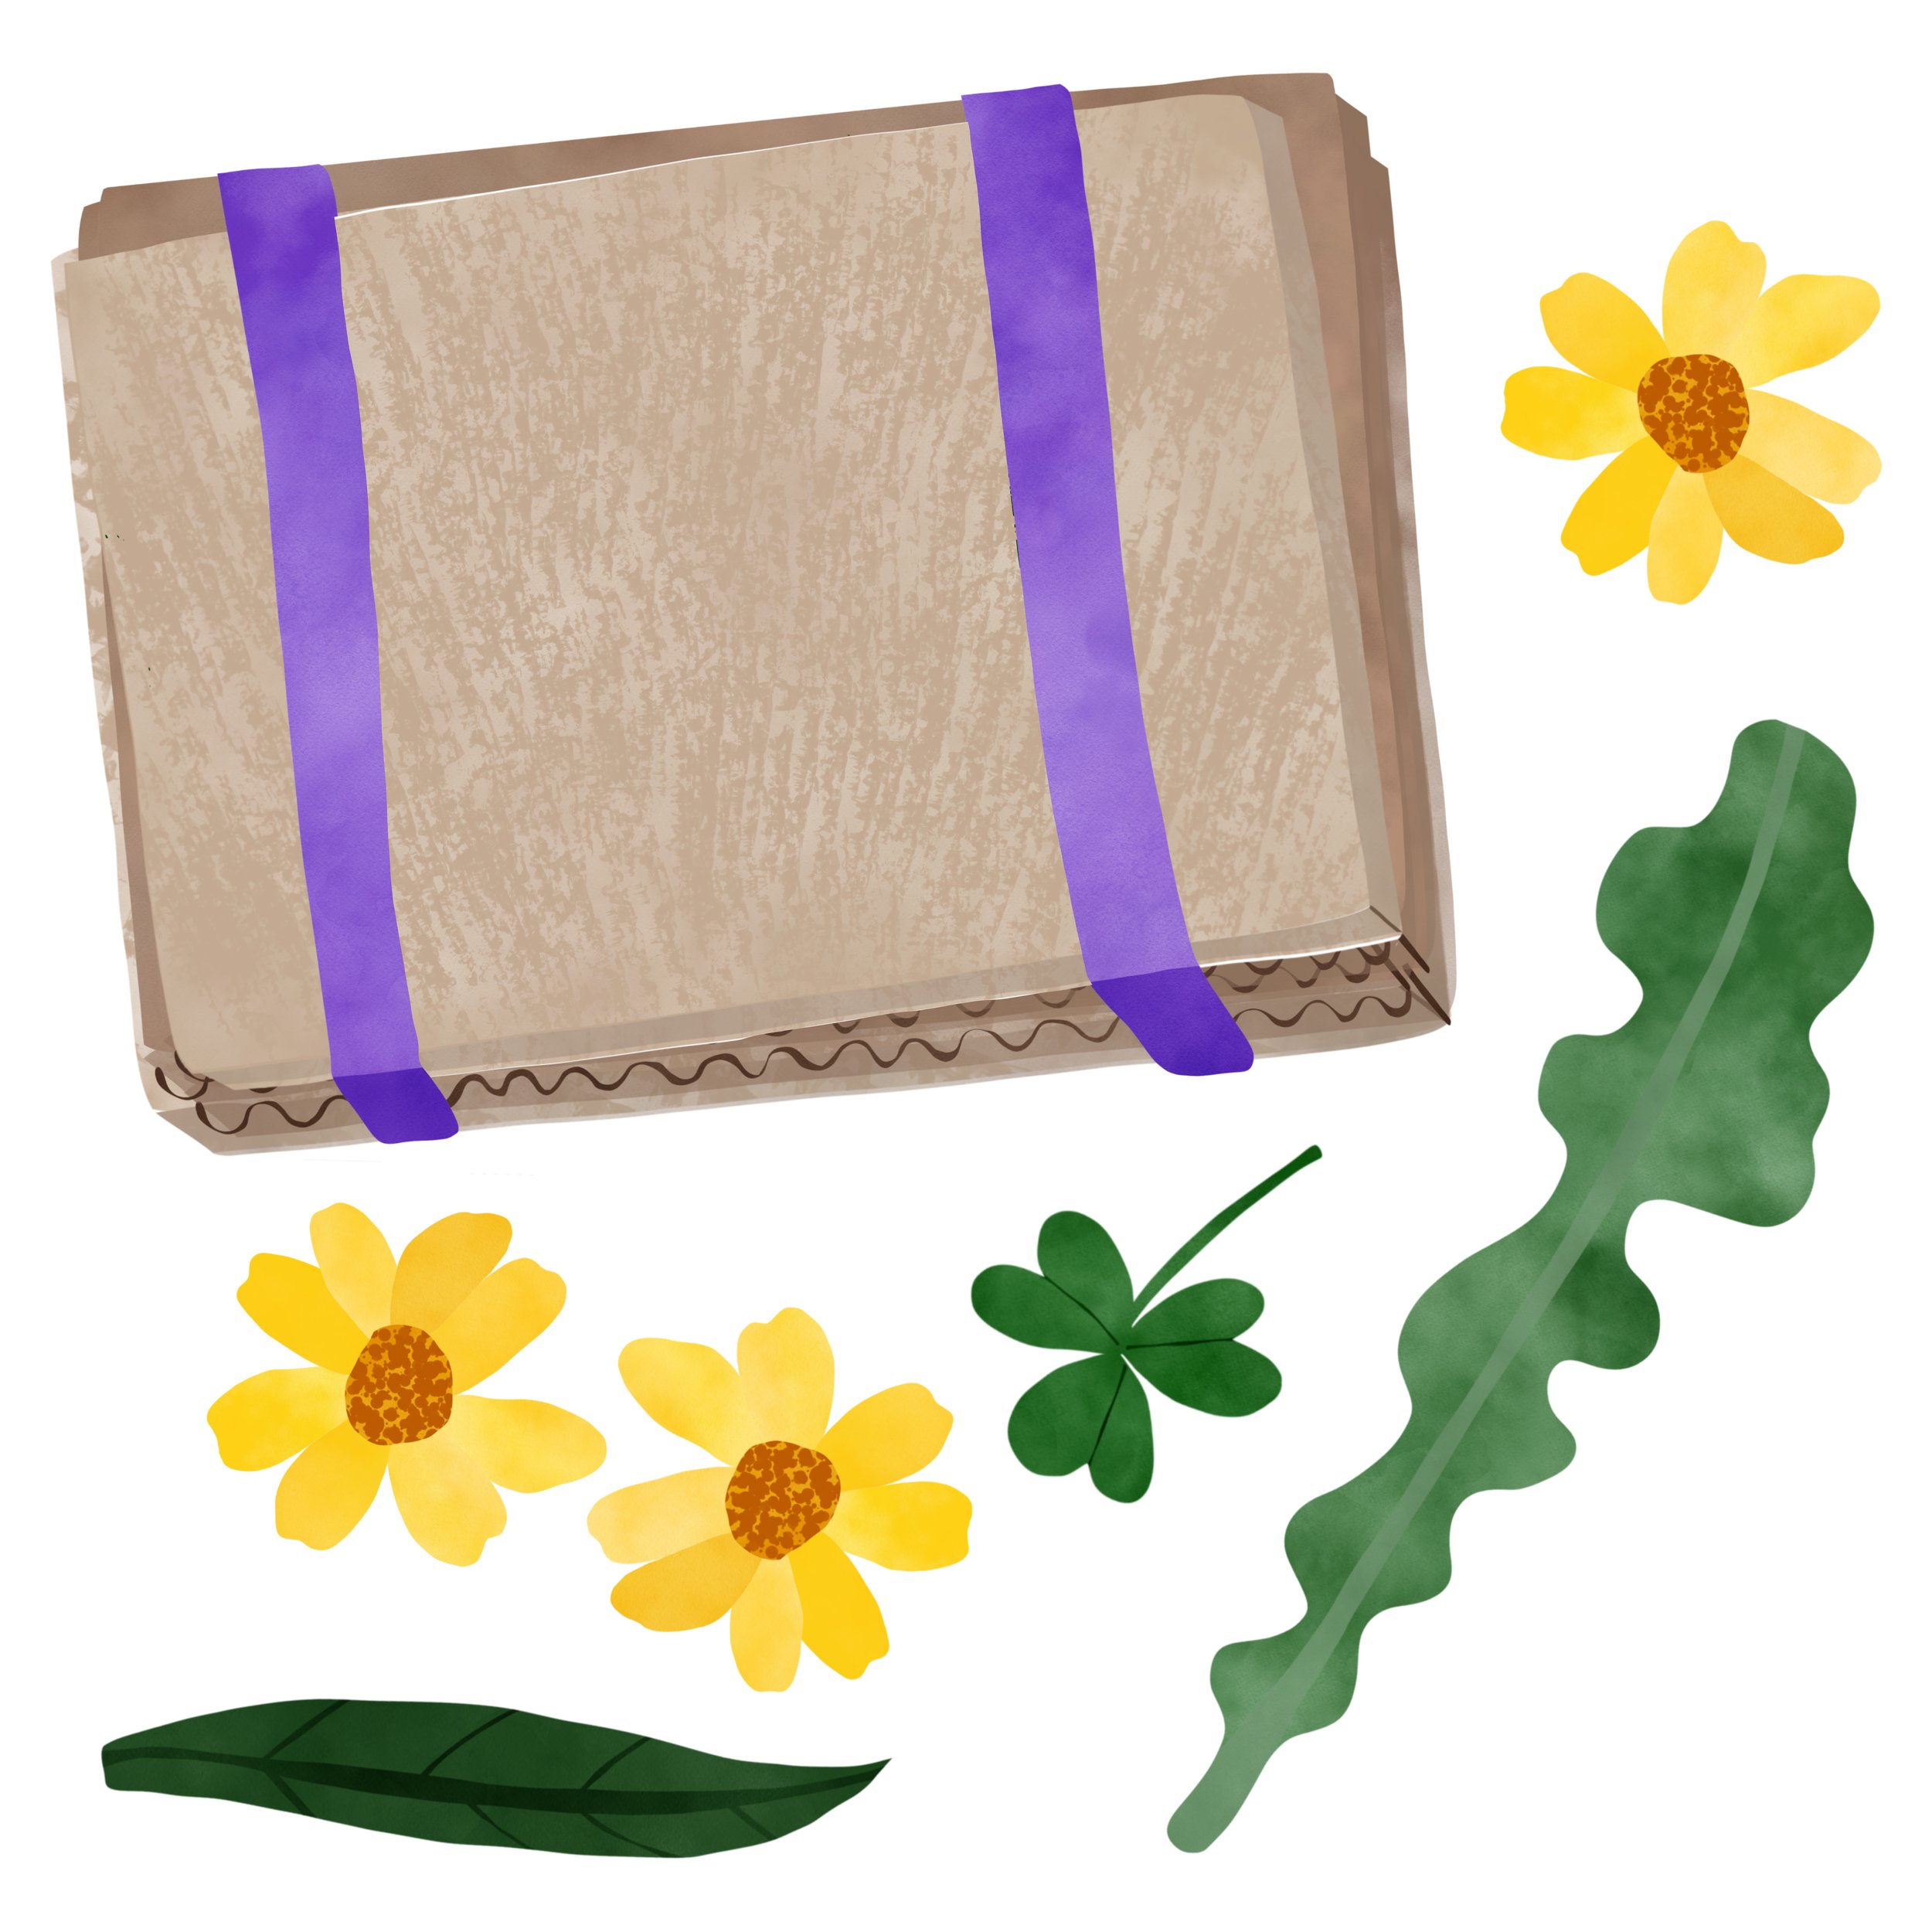
The quickest way to make a press is to use a book (something big and heavy will work best), notebook, or journal (one with an elastic strap is great). Slip your leaves and flowers in single layers between the pages* and — voila! Keep everything compressed, and you’re good to go.
* The pages might get a bit wet or warped during the drying process, and / or color may transfer from your pressings. Depending on your perspective, this could enhance the character of — or ruin — your book, notebook, or journal, so pick accordingly.
A Handmade Press
Creating something custom is also super simple!
COLLECT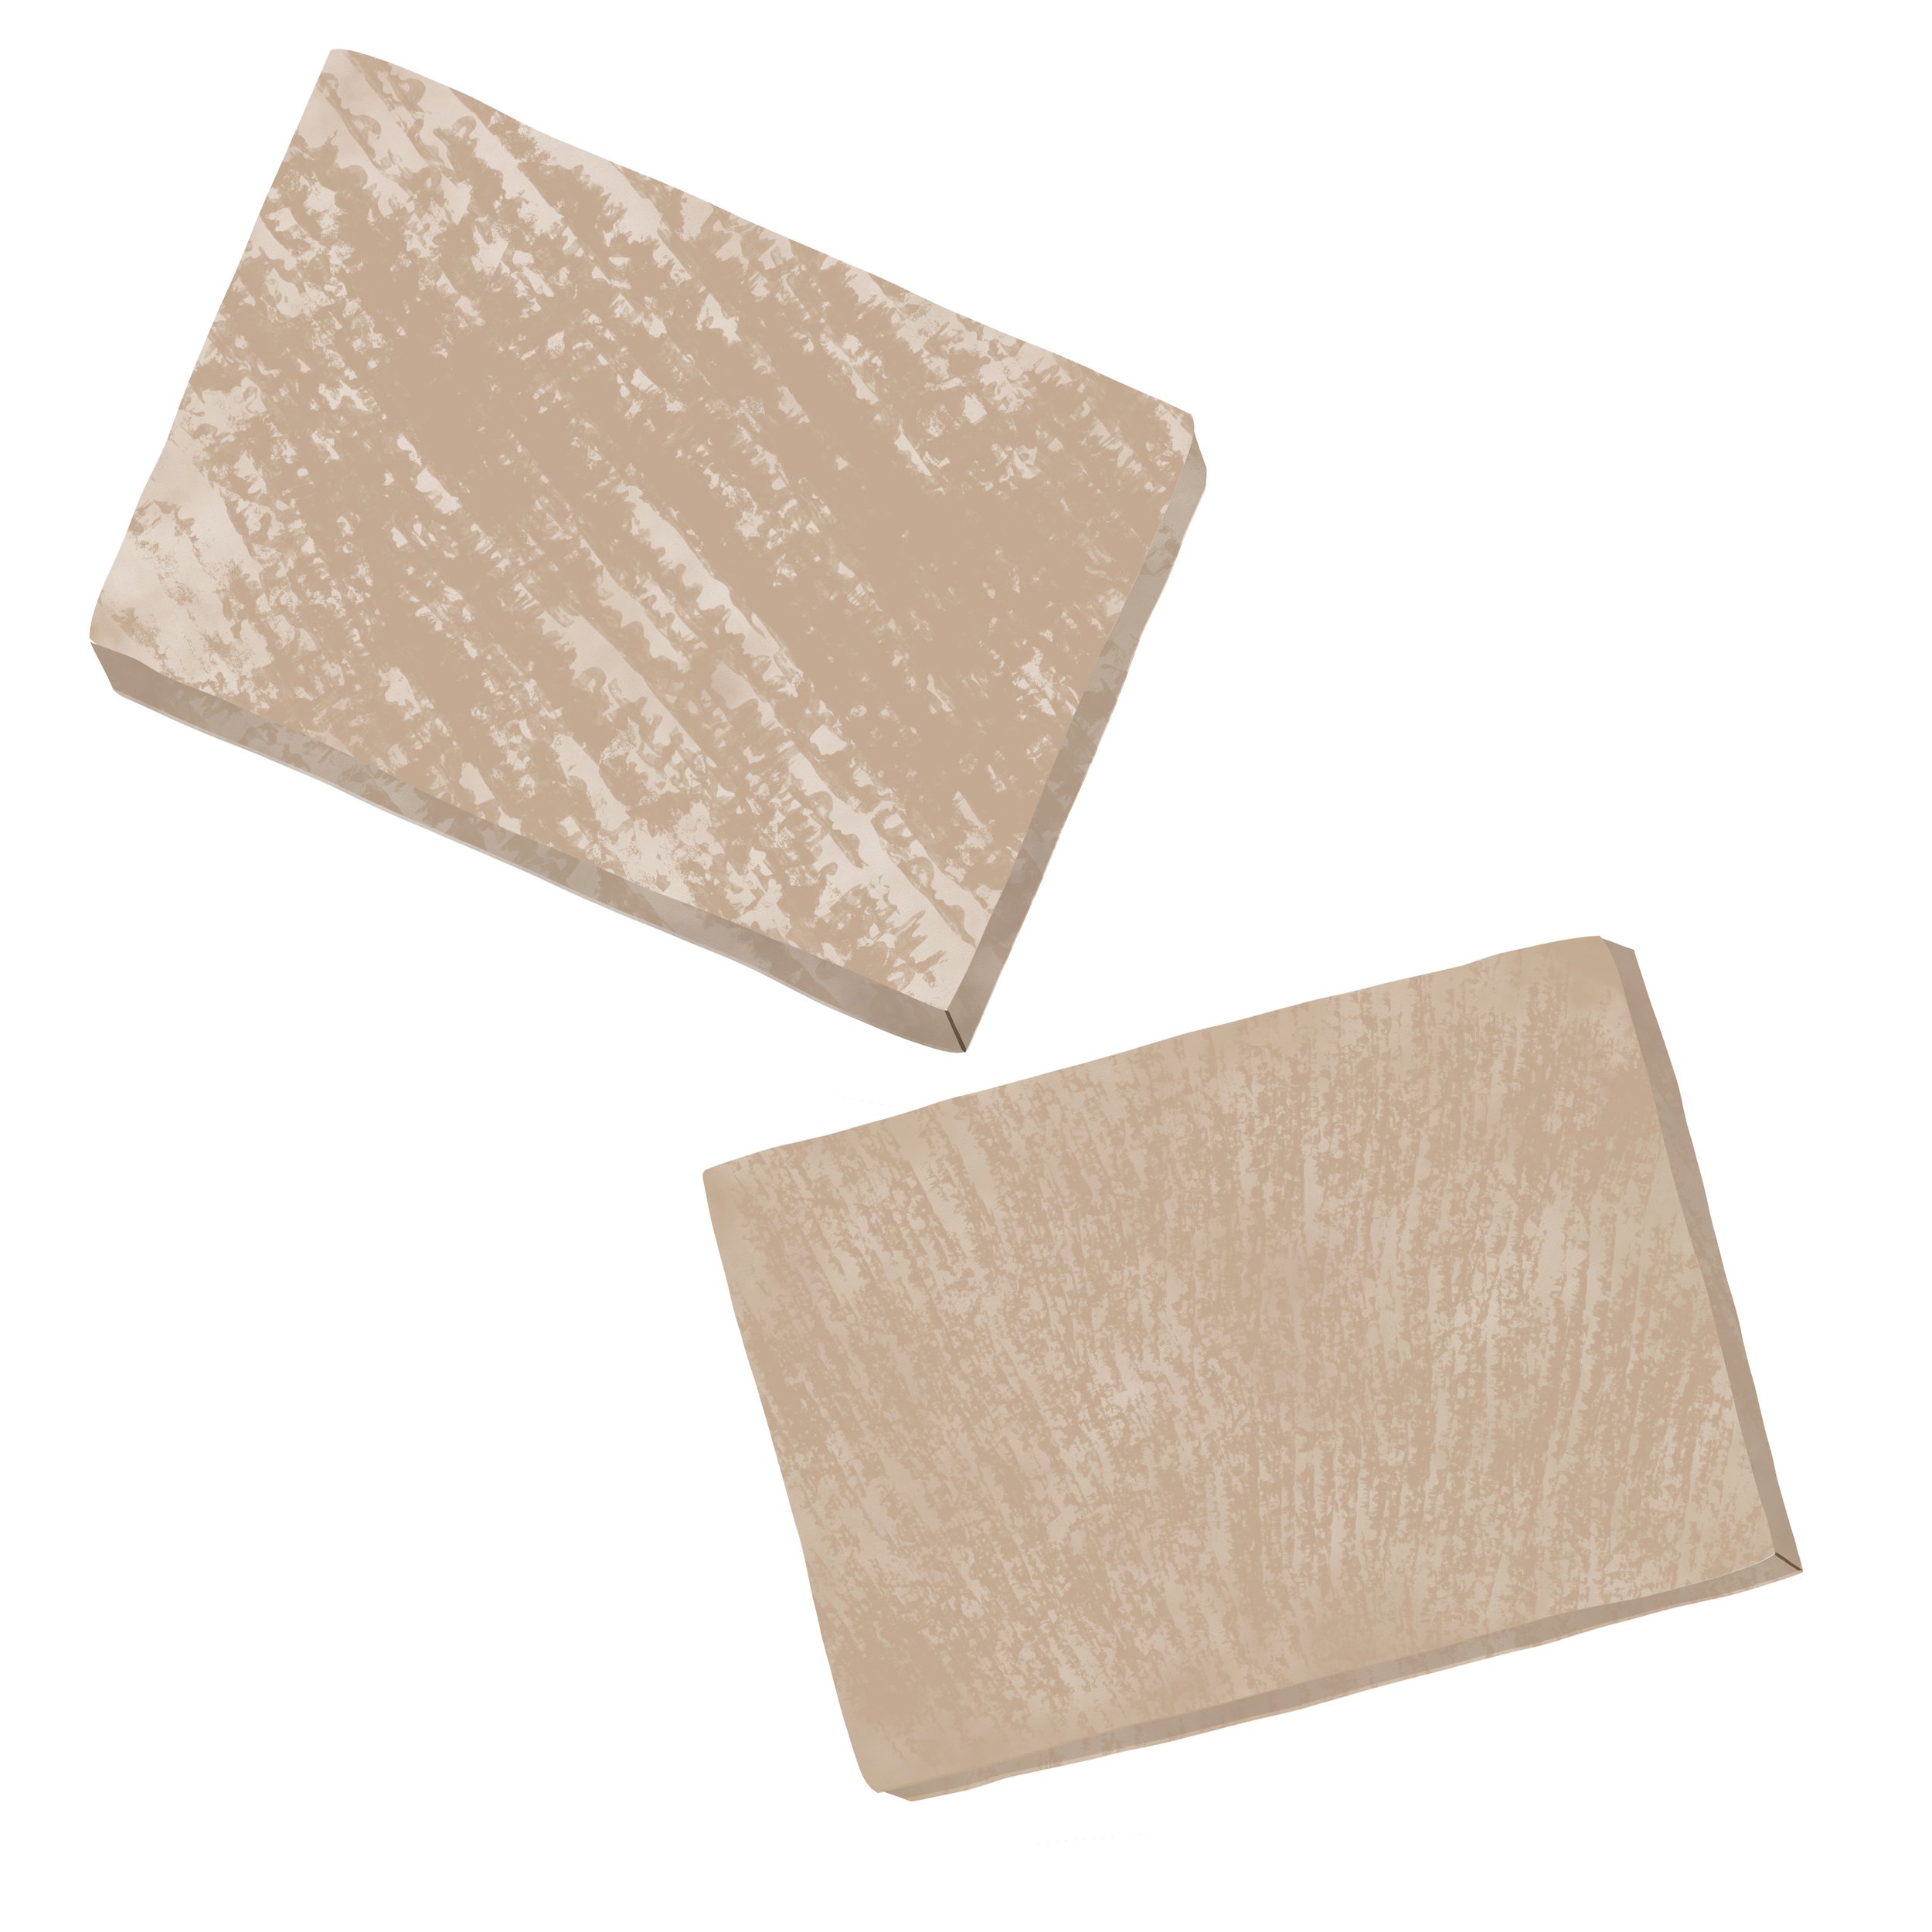
••• wood
x 2 pieces (appx 3" x 5")
••• cardboard
appx one small box worth
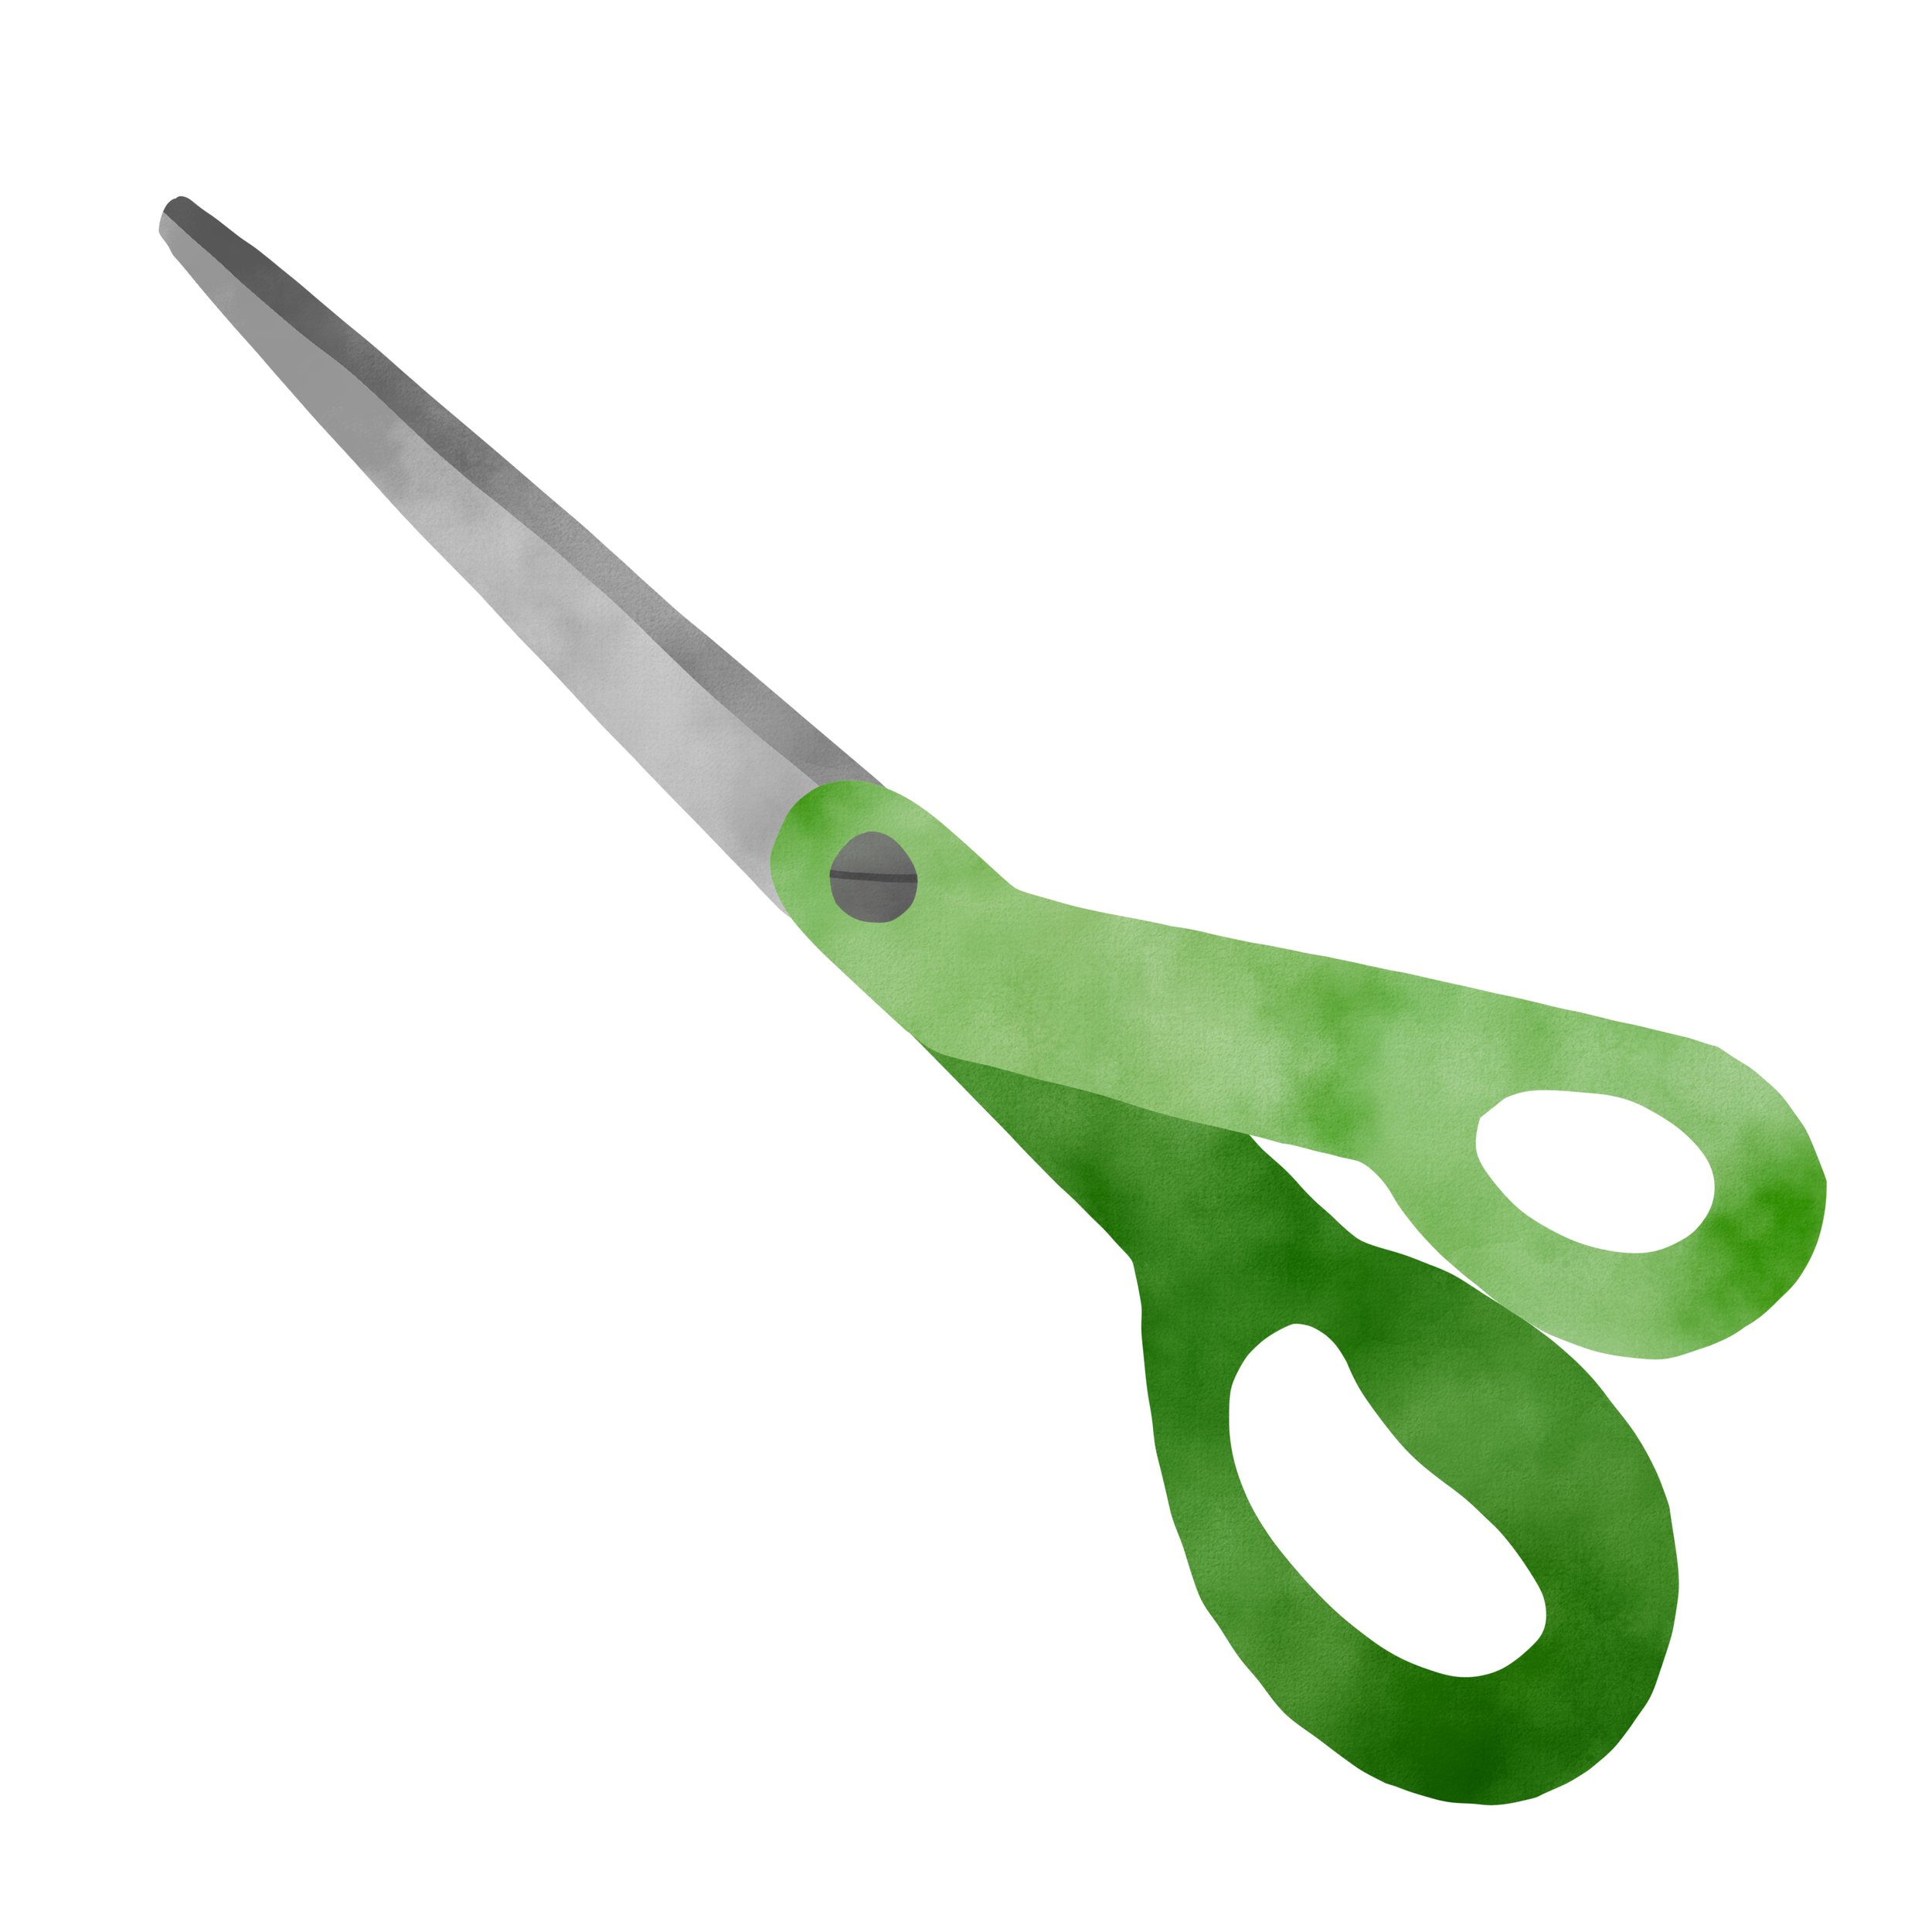
••• scissors
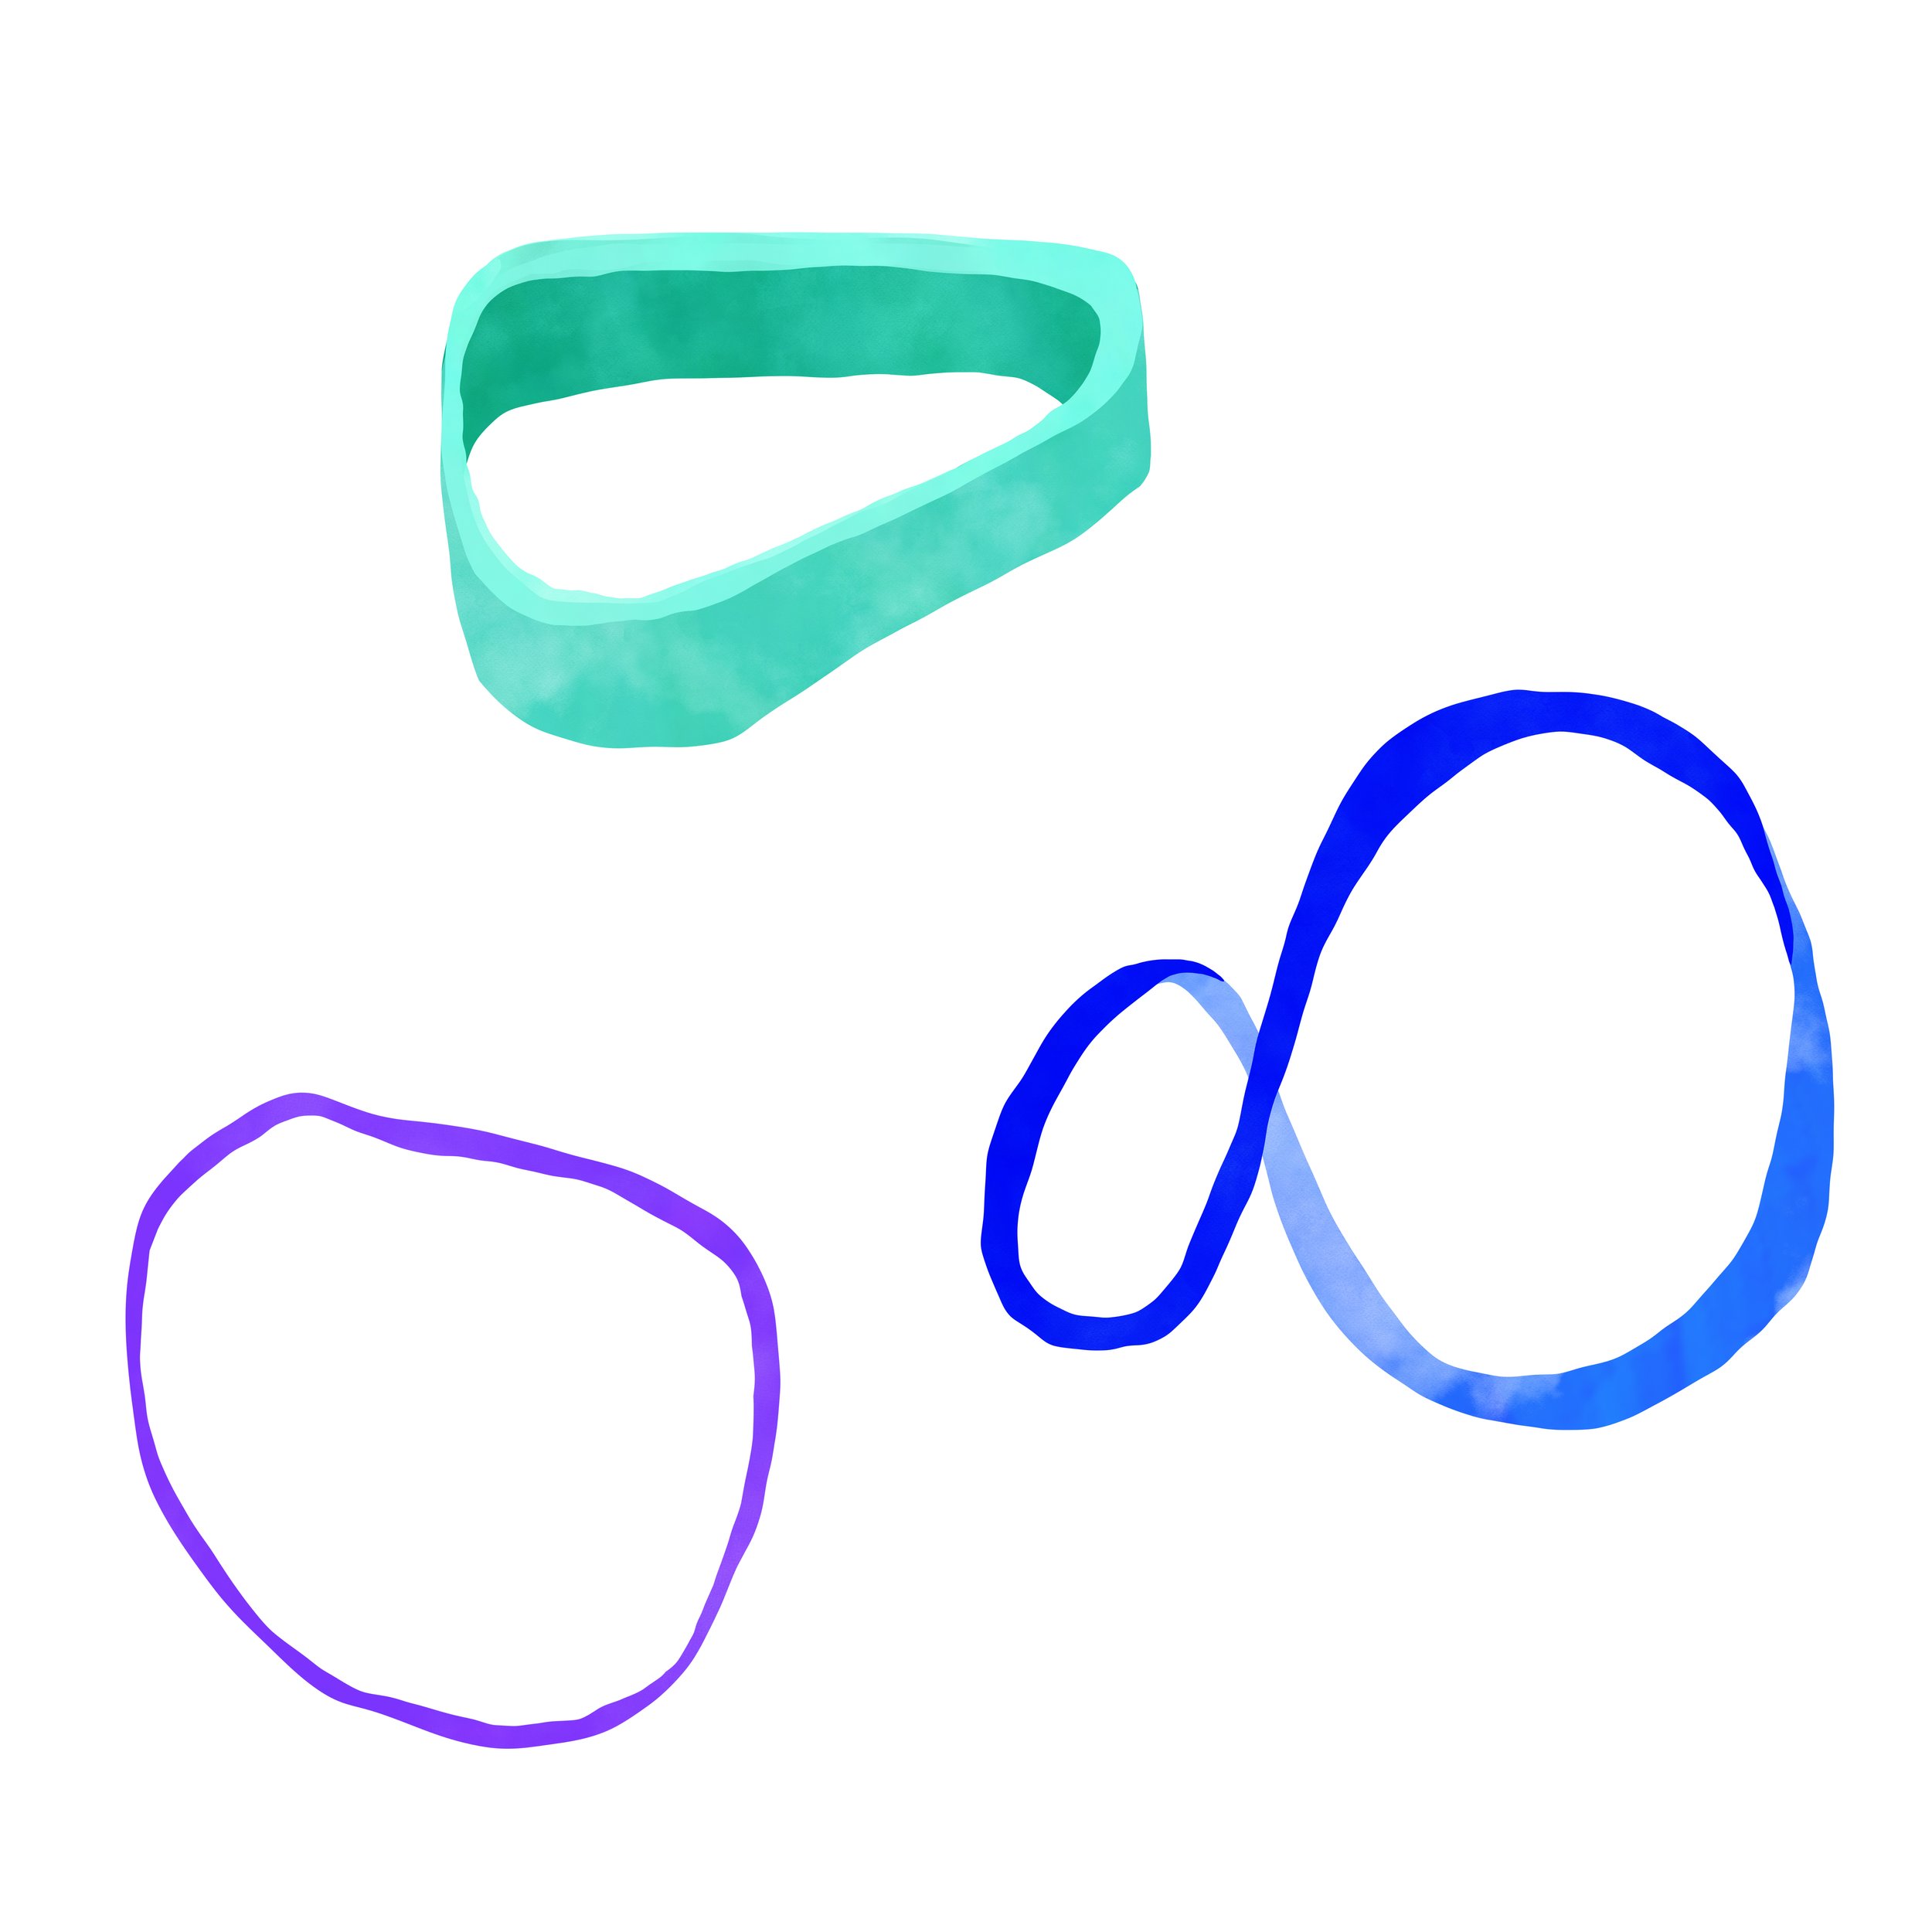
••• rubber bands
x 2

••• flowers
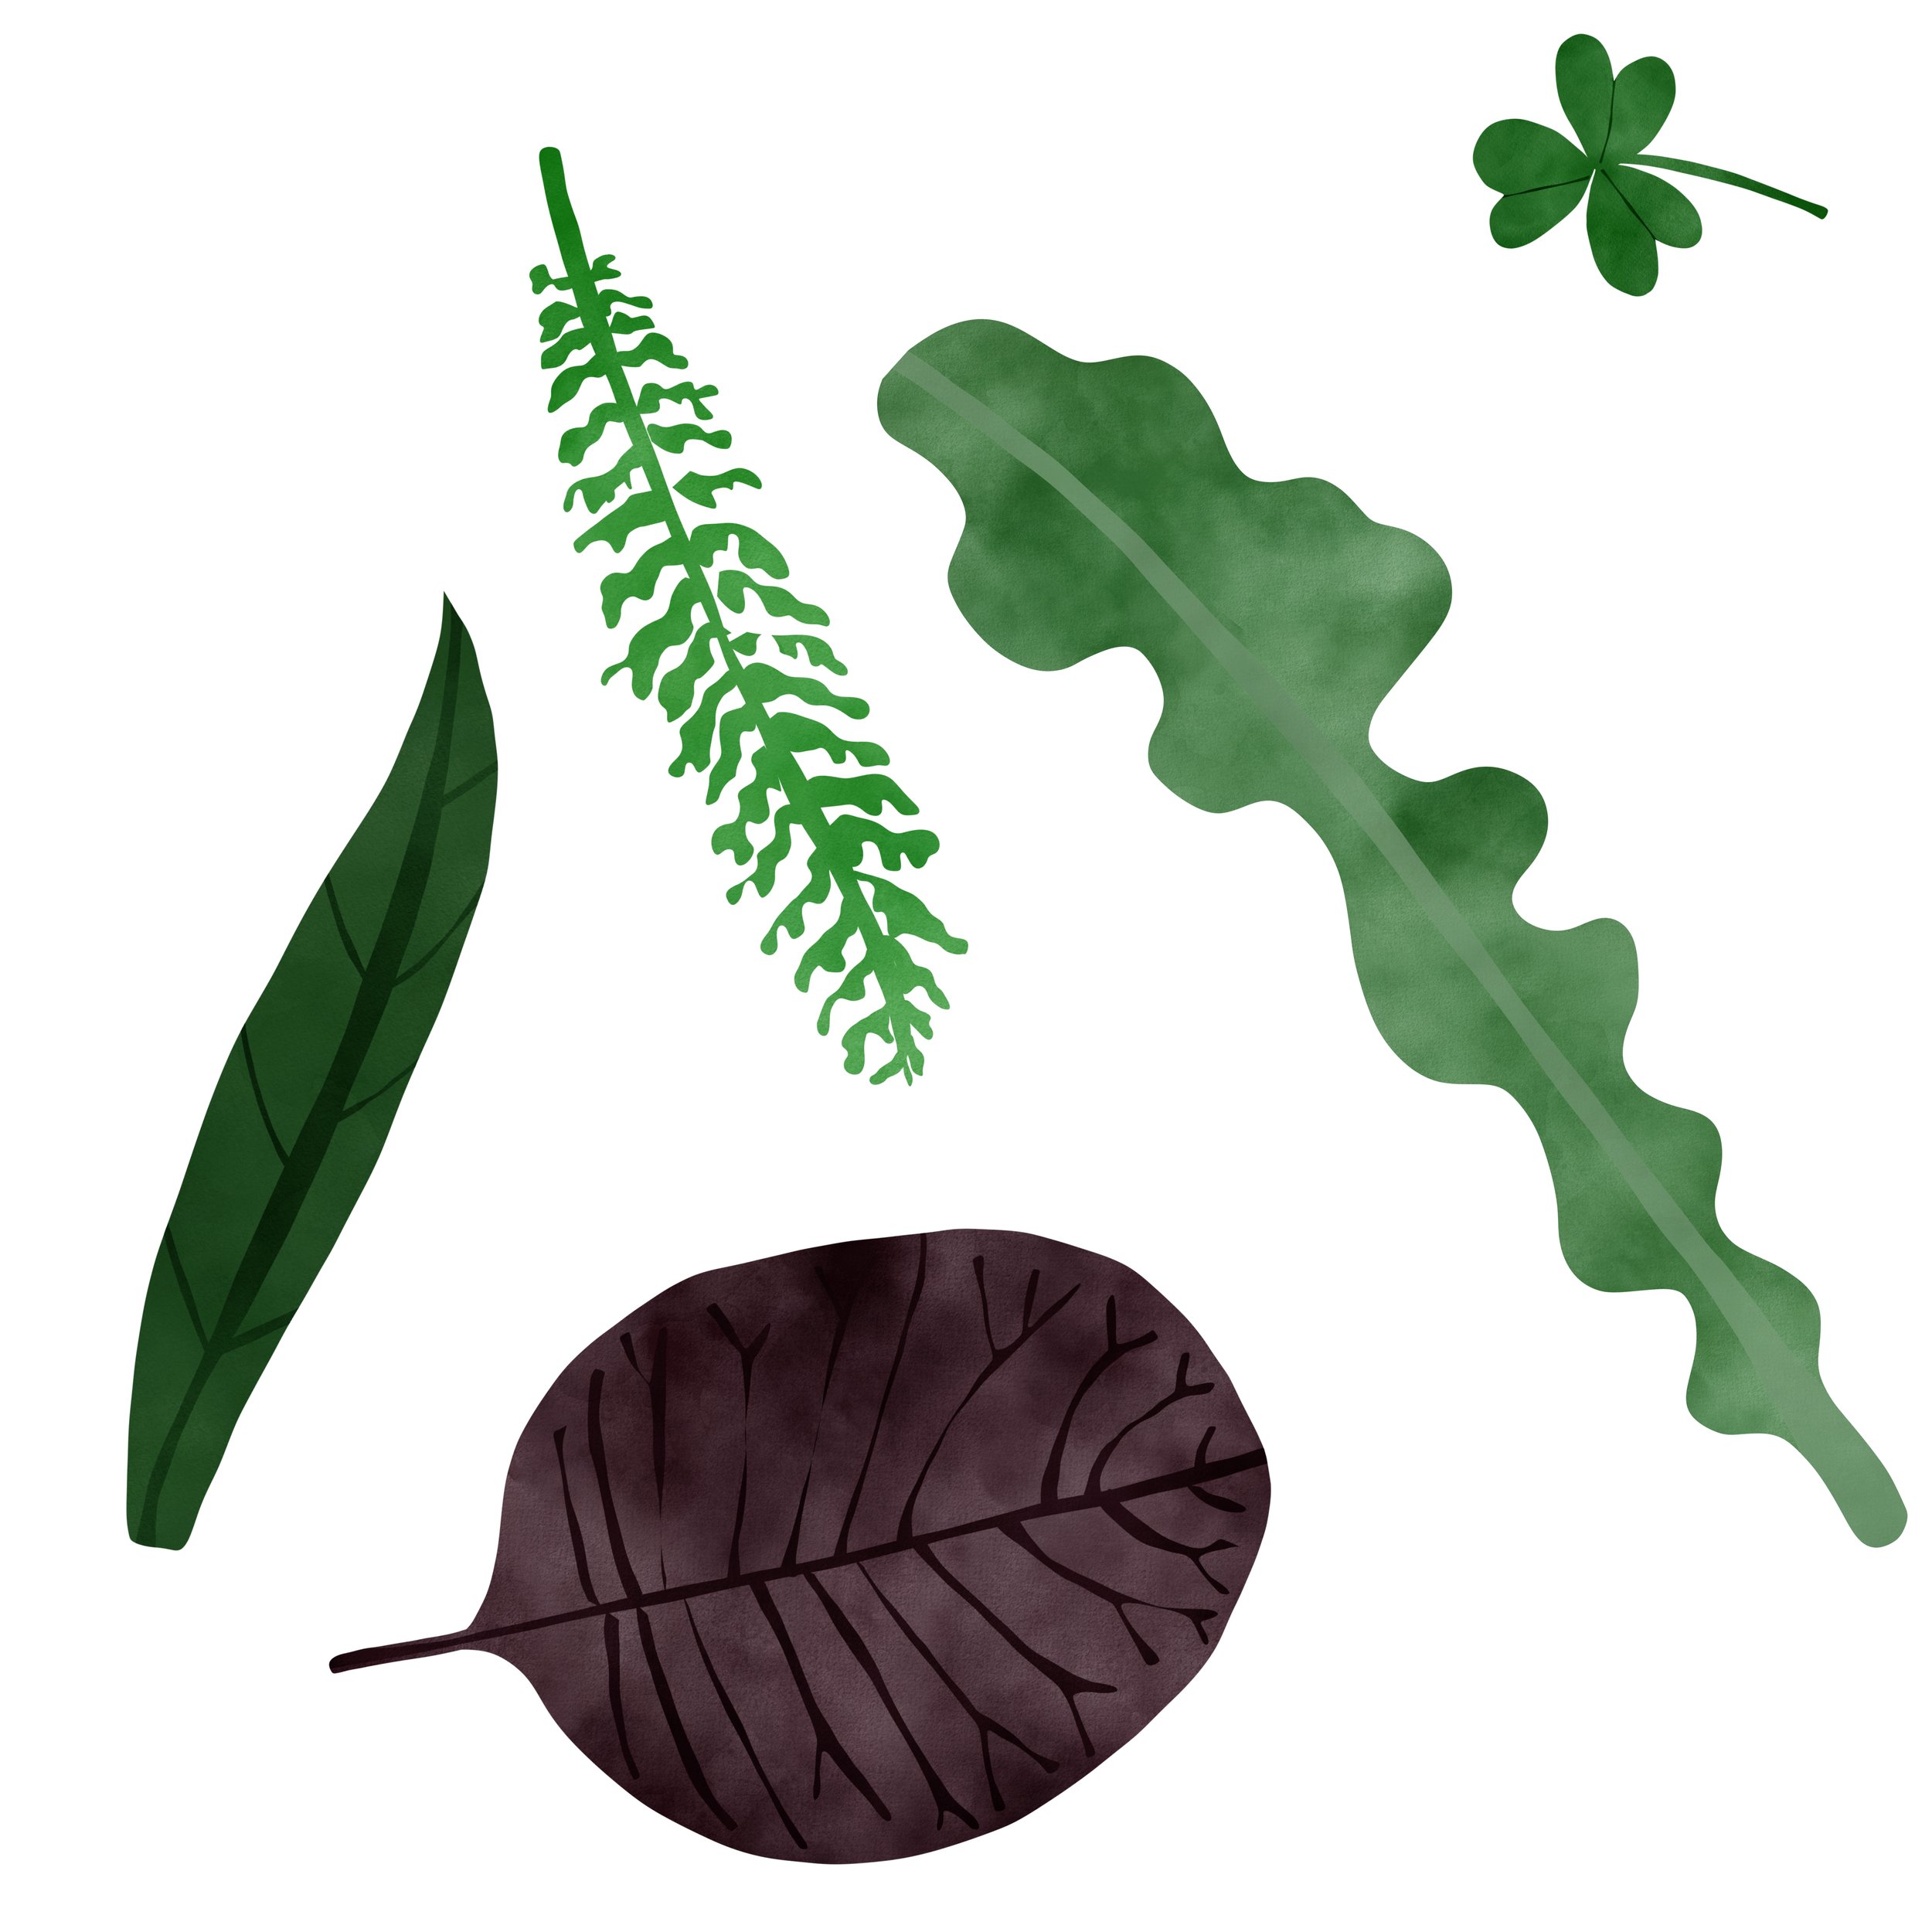
••• foliage (leaves)
fresh
Put it all Together
It’s a quickie!
Cut three pieces of cardboard the same size as your wood (appx 3” x 5”).
Layer your cardboard pieces between the wood.
Wrap rubber bands around the whole “sandwich.”
Dunzo!
How to use your flower and foliage press
Pressing is a intimate process of trial and error. Freshies can be delicate — pressed stuff even moreso. Embrace the imperfections! You’ll love some and lose some. Whatever you end up with will be one-of-a-kind.
Collect a leaf or flower!*
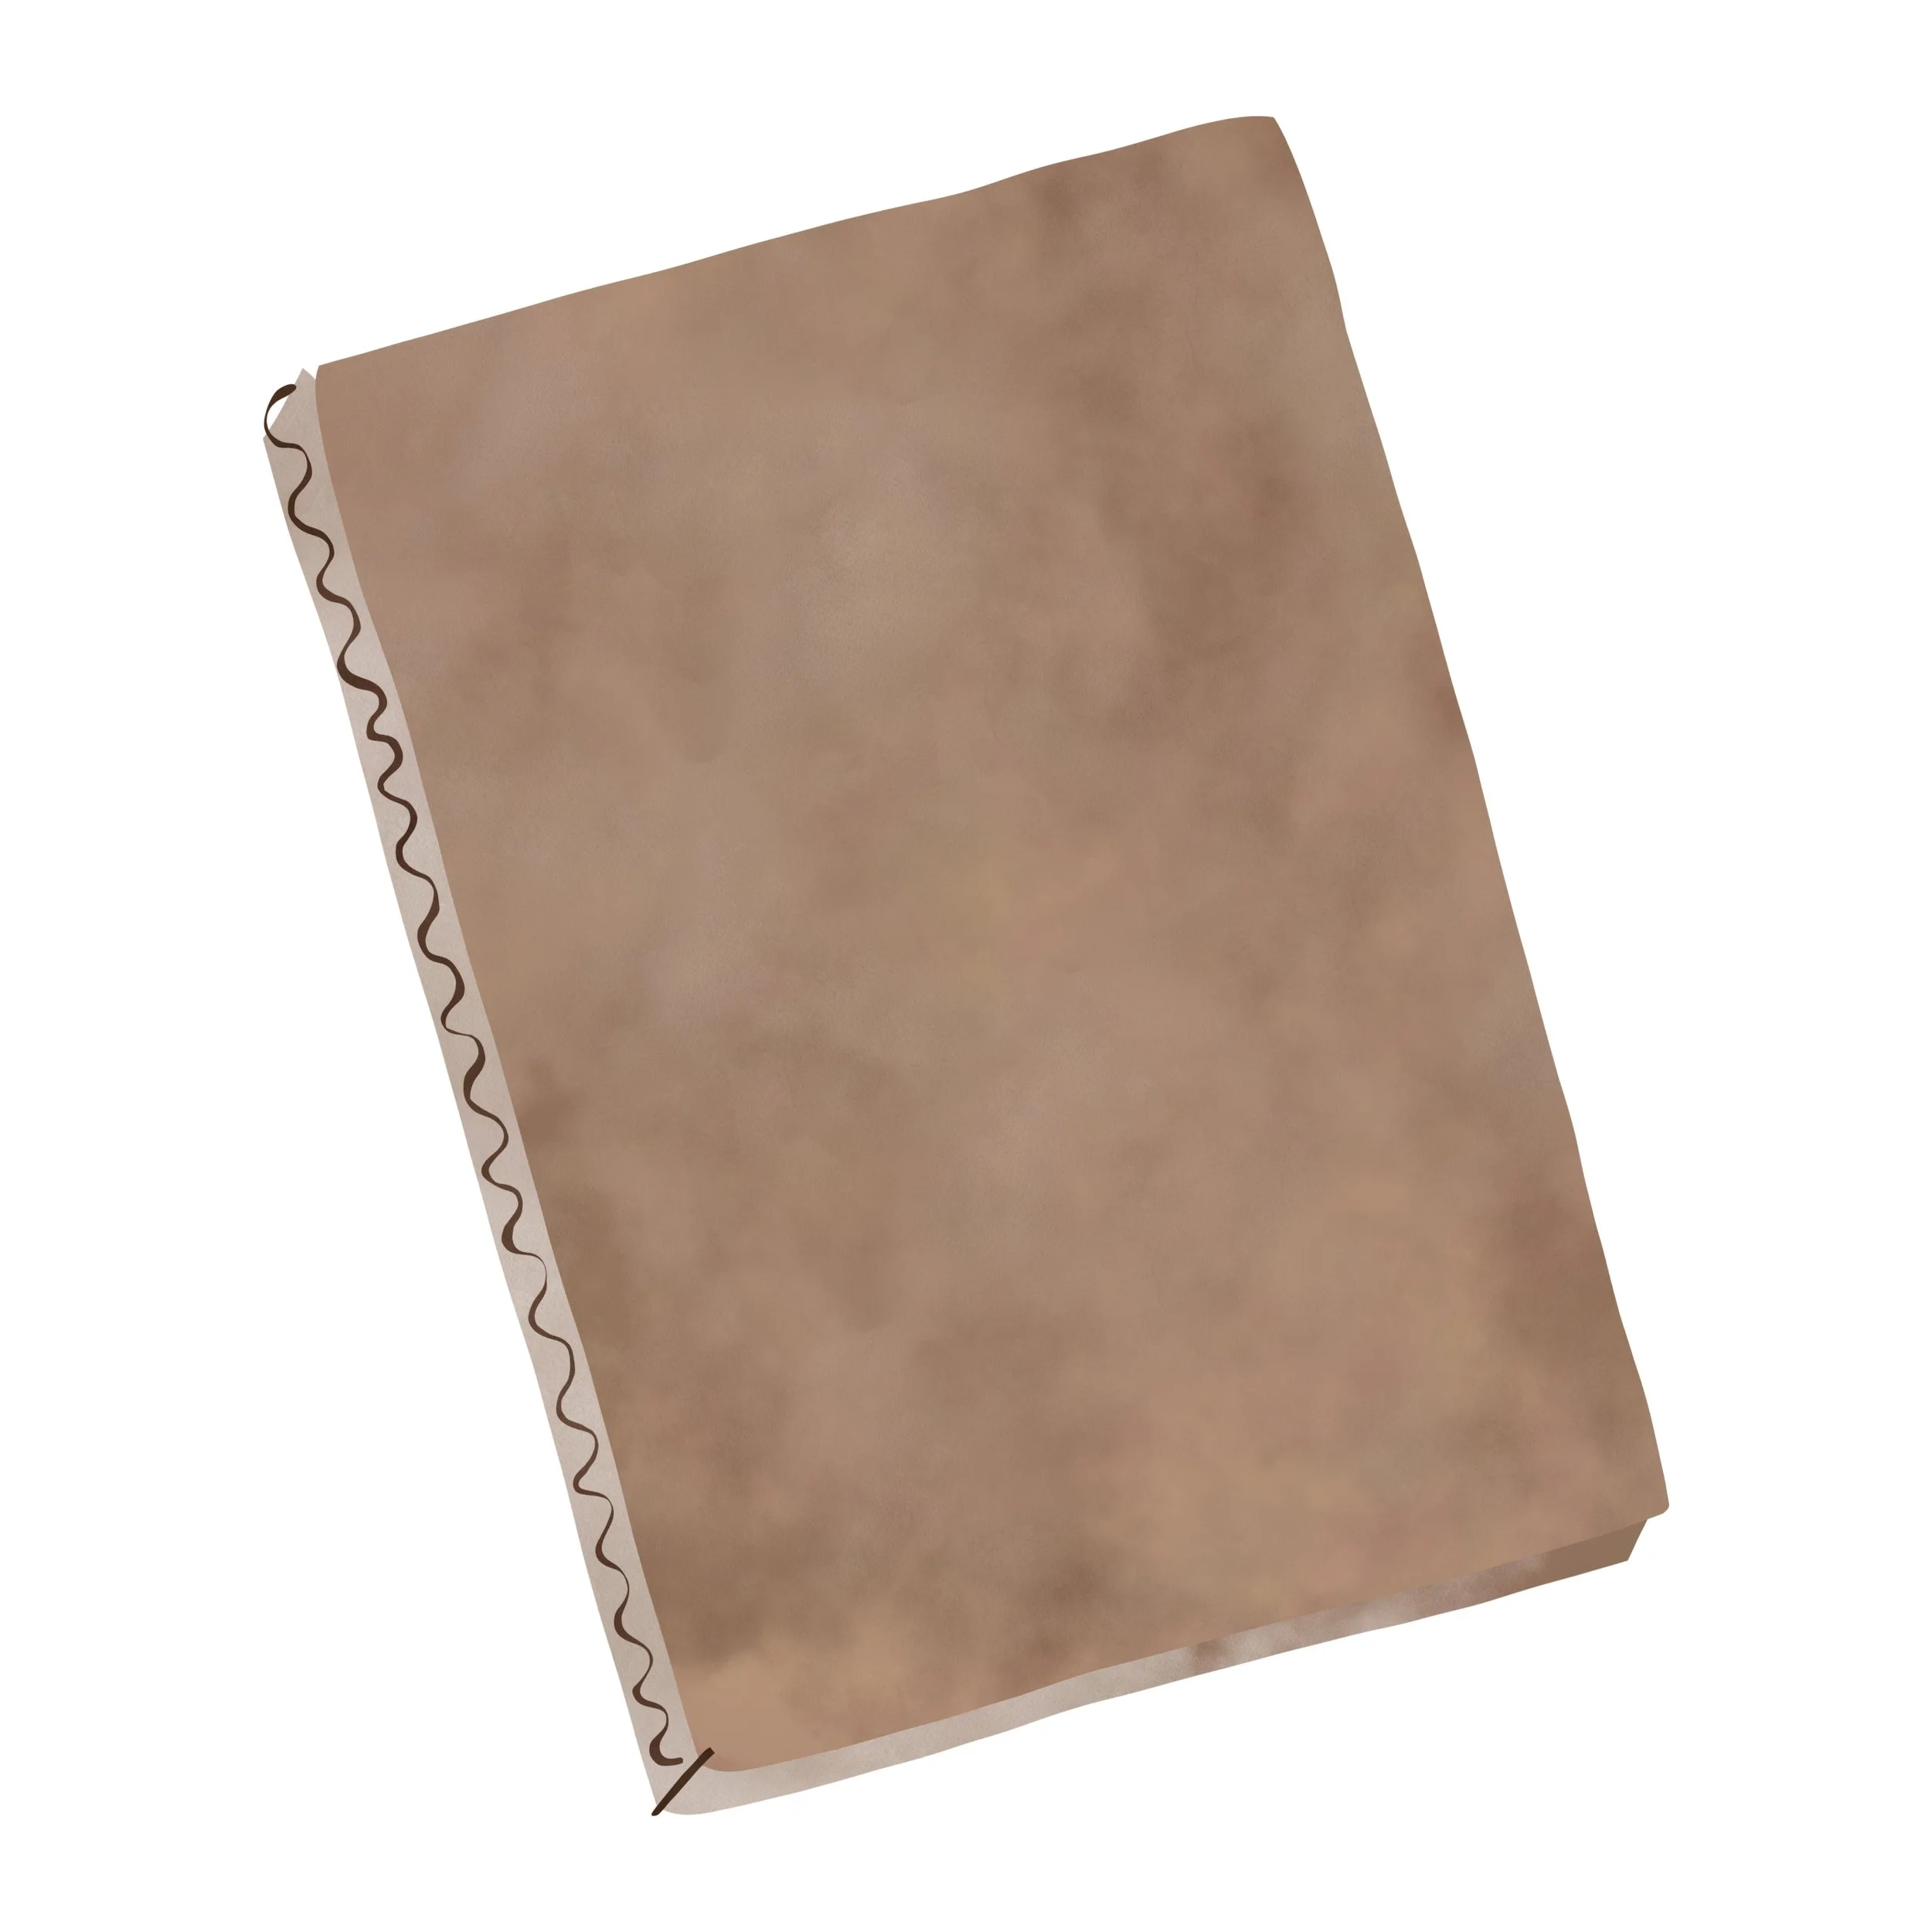
Remove the rubber bands from the press.
Place your leaf or flower between two pieces of cardboard. Flatten it out as best you can, without folds or creases.
Put the covers and rubber bands back.
That’s it!
It can be tough to be patient, but try to leave your plants undisturbed for a week, then give a peek. Your pressings are ready when they lift off easily from the cardboard, and don’t feel damp to the touch.
* Please be respectful. Never collect anything from a garden or park where you don’t have permission, and only collect if there’s an abundance of plants.
Good to know
Chonky flowers and foliage can be difficult to smoosh — same with thick, succulent plants that have a high water content. Start with cuttings that are relatively slight and thin to get a hang of how it feels to use your press, and how cuttings change once they’ve been pressed.
You can arrange more than one leaf or flower in a single layer, without touching, between two pieces of cardboard.
The more cardboard pieces you have, the more plants you can press. (Make sure your rubber bands have the give to give before they snap.)
More!
You pressed plants. They turned out great. You’re stoked. Now what?? Use them to MAKE new projects!

Coming Soon!
MAKE ••• An Herbarium Sheet!
Get to know the plants in your orbit.